Click here for back issues.
https://www.simulationroom999.com/blog/diagnostic-communication-en-back-issue/
Introduction.
Explanation of CAN-FD simulation in python-can.
This article will run the Python code for CAN-FD.
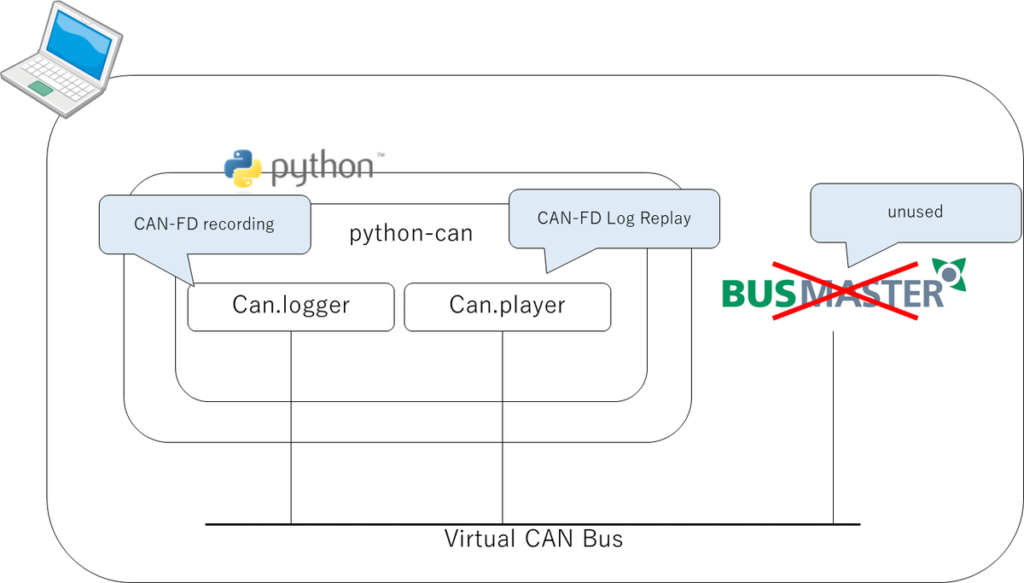
Simulation Configuration Review
Let’s review the simulation configuration once since it took more time than expected.

Well, it’s the same with CAN.
Simulation
Launch three terminals for Python and run each of them with the following commands.
> python -m can.logger -i vector -c 0 --fd -f canfdlog.asc> python canfdrecv.py> python canfdsend.pySimulation results
Simulation results are shown as follows.
Output of canfdsend.py
Send msg : Timestamp:        0.000000   ID: 00000111 X F BS DLC:9  01 02 03 04 05 06 07 08 09
Recv msg : Timestamp: 1602731010.594256 ID: 00000222 X F BS DLC:6  0a 0b 0c 0d 0e 0f Channel: 0
Output of canfdrecv.py
Recv msg : Timestamp: 1602731010.593276 ID: 00000111 X F BS DLC:12 01 02 03 04 05 06 07 08 09 00 00 00 Channel: 0
Send msg : Timestamp:        0.000000   ID: 00000222 X F BS DLC:6  0a 0b 0c 0d 0e 0f
Output of can.logger
Begin Triggerblock
 0.000000 Start of measurement
 0.000000 1  111x            Rx   d 12 01 02 03 04 05 06 07 08 09 00 00 00
 0.000967 1  222x            Rx   d 6 0A 0B 0C 0D 0E 0F
End TriggerBlock
F or BS in the Python code output means FDF (FD Format Indicator) and BRS (Bit Rate Switch).
Although it is not clear from the can.logger, it is safe to assume that CAN-FD is being sent and received properly.
This is the end of the CAN-FD sending/receiving experiment.
Conclusion.
- Simulation configuration review.
- Simulation execution of CAN-FD transmission and reception.
Click here for back issues.
![[CAN-FD] Vehicle Diagnostic Communication Part 92 [python-can 6]](https://www.simulationroom999.com/blog/wp-content/uploads/2023/01/01_eyecatch-16.png)


コメント