
バックナンバーはこちら。
https://www.simulationroom999.com/blog/compare-matlabpythonscilabjulia3-backnumber/

はじめに
畳み込み演算のガウシアンフィルタの話。
今回はPython(NumPy)で実施してみる。
登場人物
博識フクロウのフクさん

イラストACにて公開の「kino_k」さんのイラストを使用しています。
https://www.ac-illust.com/main/profile.php?id=iKciwKA9&area=1
エンジニア歴8年の太郎くん

イラストACにて公開の「しのみ」さんのイラストを使用しています。
https://www.ac-illust.com/main/profile.php?id=uCKphAW2&area=1
使用する畳み込みカーネルと画像
まずは畳み込みカーネルと画像の再掲
畳み込みカーネル
\(
\displaystyle K_{3\times3}=\frac{1}{16}
\begin{bmatrix}
1 & 2 & 1 \\
2 & 4 & 2 \\
1 & 2 & 1 \\
\end{bmatrix}
\)
画像
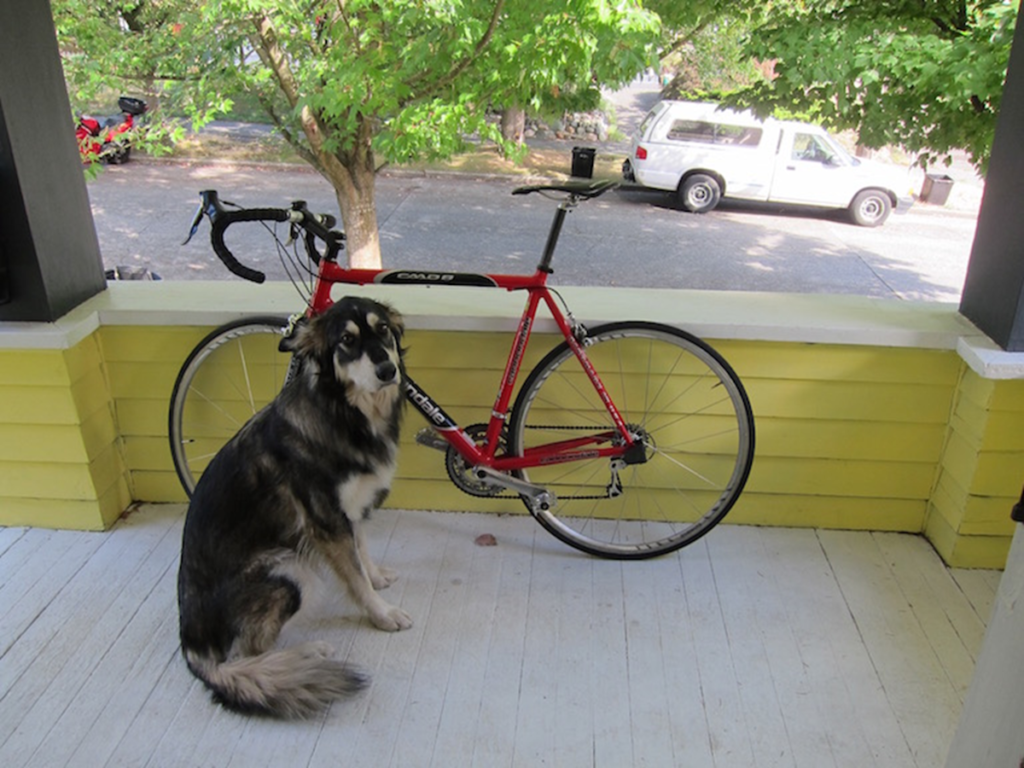
これをPython(NumPy)で実現する。
Pythonコード
Pythonコードは以下になる。
import numpy as np
import cv2

# 畳み込み演算
def convolution2d(img, kernel):
    m, n = kernel.shape # カーネルサイズ取得

    # カーネル中心からみた幅
    dy = int((m-1)/2)  # カーネル上下幅
    dx = int((n-1)/2)  # カーネル左右幅

    h, w = img.shape   # イメージサイズ
    out = np.zeros((h, w)) # 出力用イメージ

    # 畳み込み
    for y in range(dy, h - dy):
        for x in range(dx, w - dx):
            out[y][x] = np.sum(img[y-dy:y+dy+1, x-dx:x+dx+1]*kernel)

    return out

def gaussian_test():
    img = cv2.imread("dog.jpg")

    h, w, c = img.shape

    # ガウシアンフィルタ用のkernel
    kernel_gauss = np.array([[1/16, 2/16, 1/16],
                             [2/16, 4/16, 2/16],
                             [1/16, 2/16, 1/16]])
    img_gauss = np.zeros((h, w, c))


    # ガウシアンフィルタ
    img_gauss[:,:,0] = convolution2d(img[:,:,0], kernel_gauss)
    img_gauss[:,:,1] = convolution2d(img[:,:,1], kernel_gauss)
    img_gauss[:,:,2] = convolution2d(img[:,:,2], kernel_gauss)

    cv2.imwrite("dog_gaussian.jpg",img_gauss)

    return;

gaussian_test()
処理結果
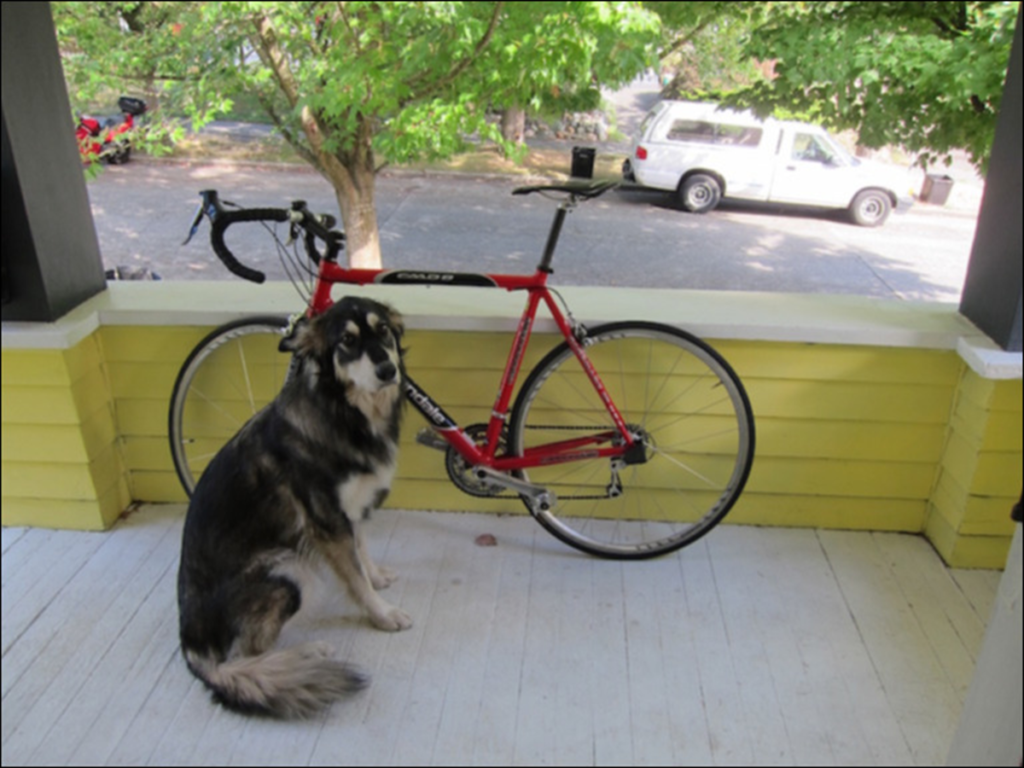
そして処理結果。
考察
まぁ、これも良く見ないと差がわからんよね・・・。
畳み込み演算関数はconvolution2dか。
畳み込み演算をしているのは、
out[y][x] = np.sum(img[y-dy:y+dy+1, x-dx:x+dx+1]*kernel)
の部分。
sum関数の挙動がMATLABと異なり、行列全体の総和を算出している。
MATLABと同じような挙動のsumにするには、axisというオプションを使うことになる。
まぁ、今回は行列全体の総和が一発で算出できる方がうれしいけど。
これも内積で置き換えてもOKなのかな?
行列の形状から、ベクトルに変更した上で内積してもOKだ。
RGBそれぞれに演算しているのも一緒だね。
まとめ
まとめだよ。
- Python(NumPy)でガウシアンフィルタを実施。
- 畳み込み演算は関数化。
- NumPyのsumは行列の総和。
- 行、列の総和の場合はaxisオプションを使用。
- RGB 3chに対して同じ処理を実施。
バックナンバーはこちら。

コメント